PrestaShop Plugin Installation
![]()
Click for Param Virtual Pos Plugin
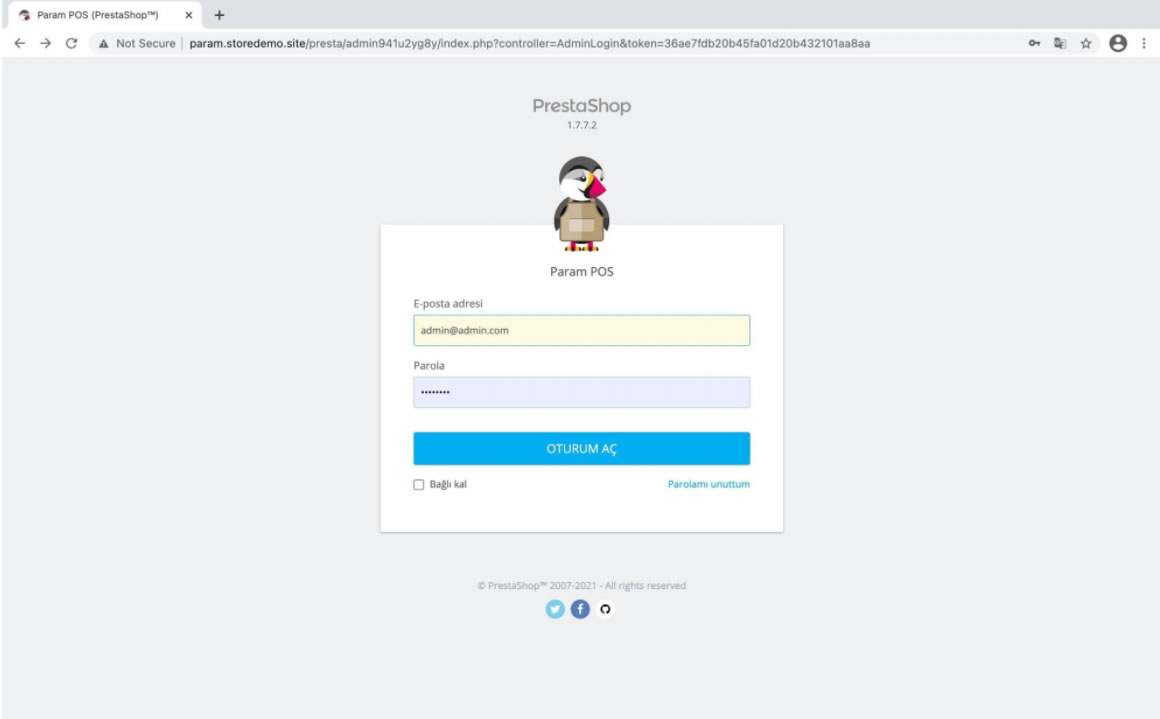
01.We log in to the PrestaShop admin panel.
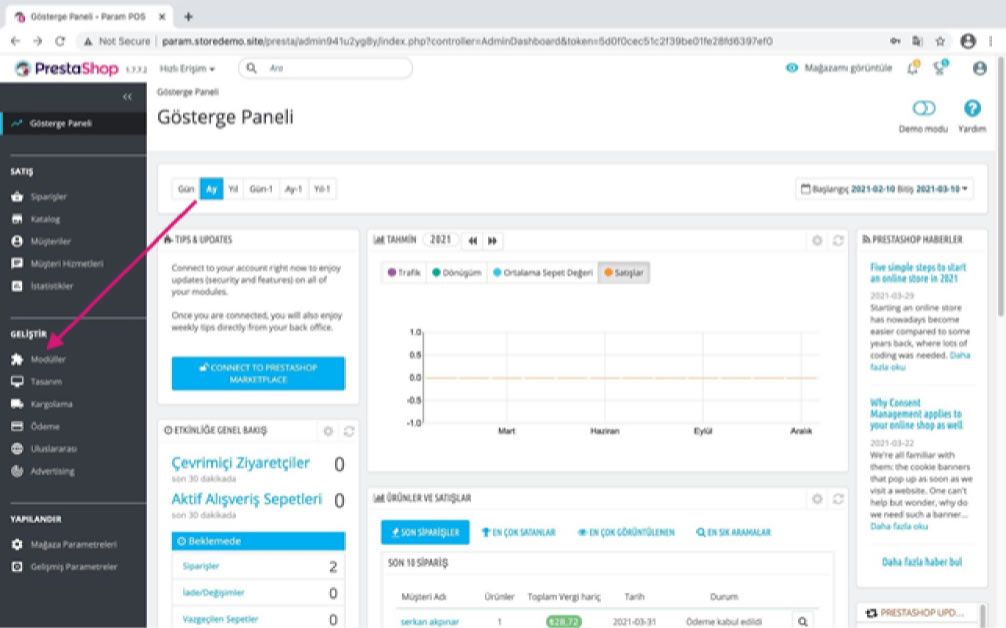
02. Click on “Modules”.
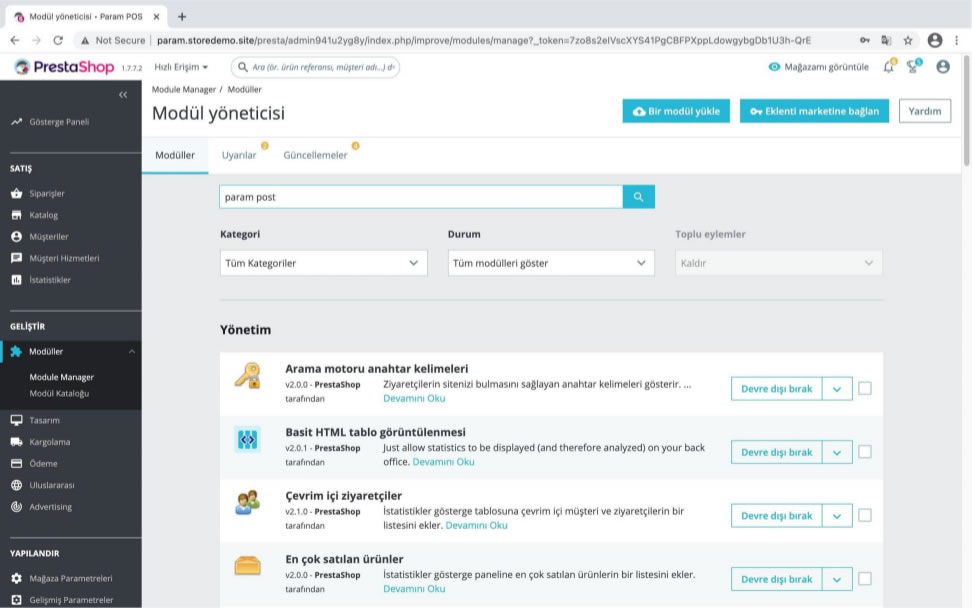
03. Under “Modules” click on “Module Manager”.
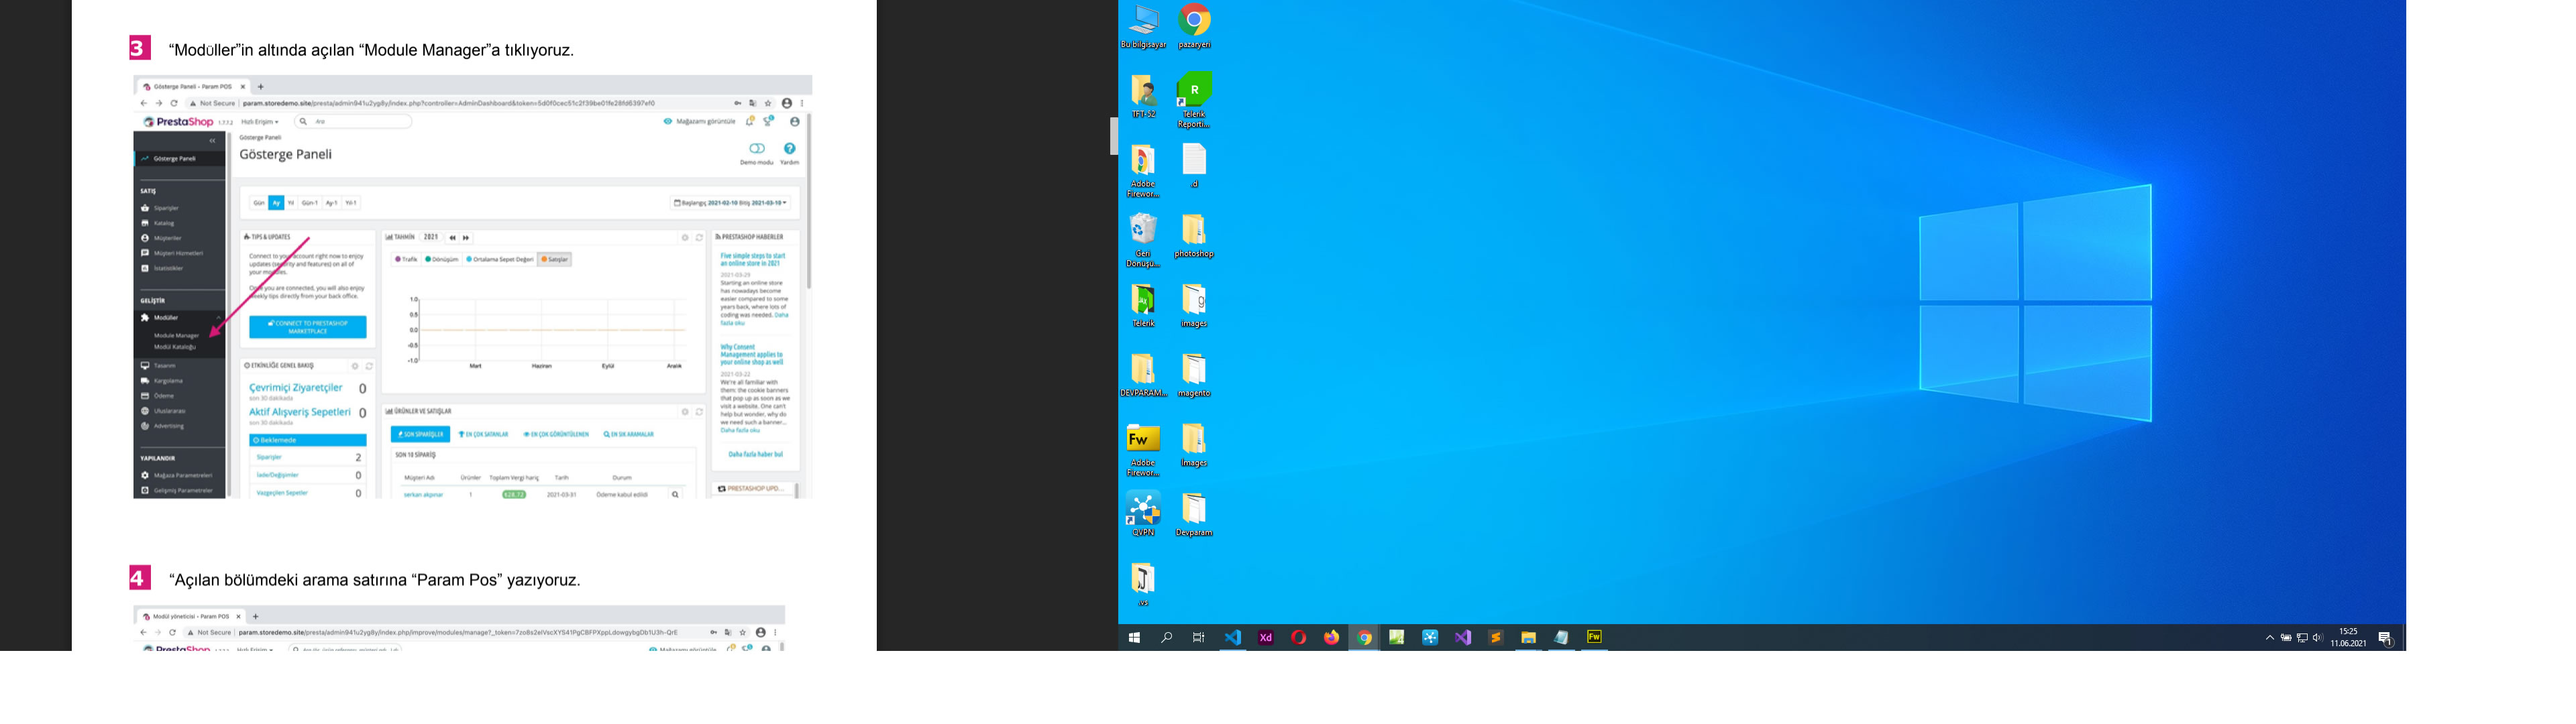
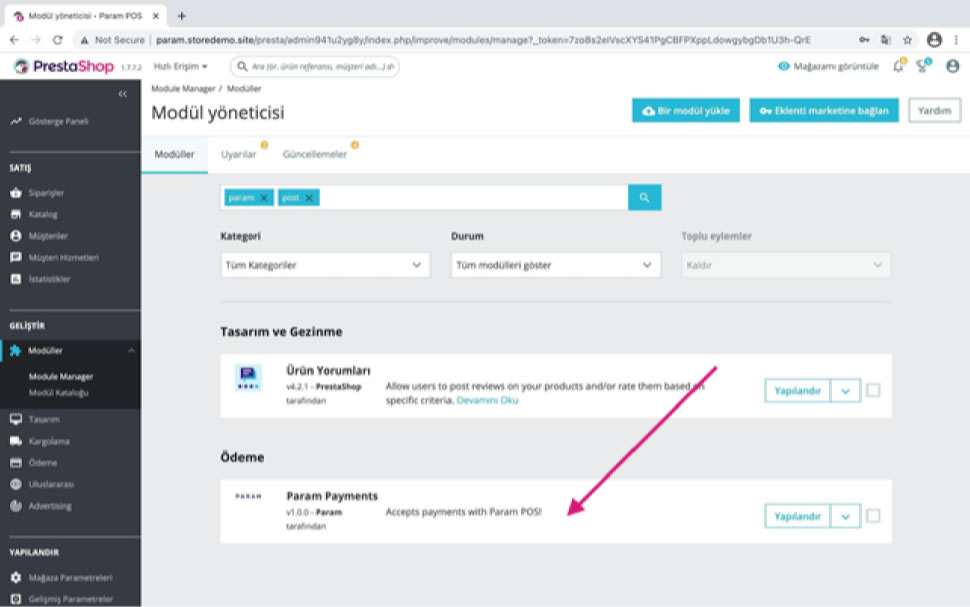
04. “We type “Param Pos” in the search line in the section that opens.
05. Select the “Param Payments” file and click on the “Install Now” button. After installing then we “activate” it.
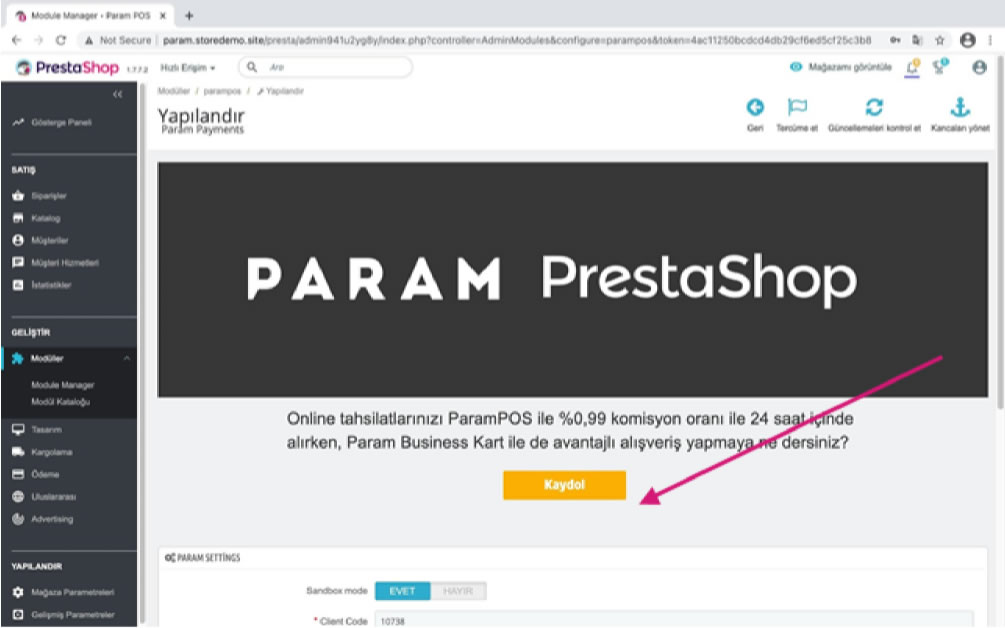
06. We apply for Param POS by clicking “Register”. After the Param POS account is created, we can get API information by logging in from the internet branch.
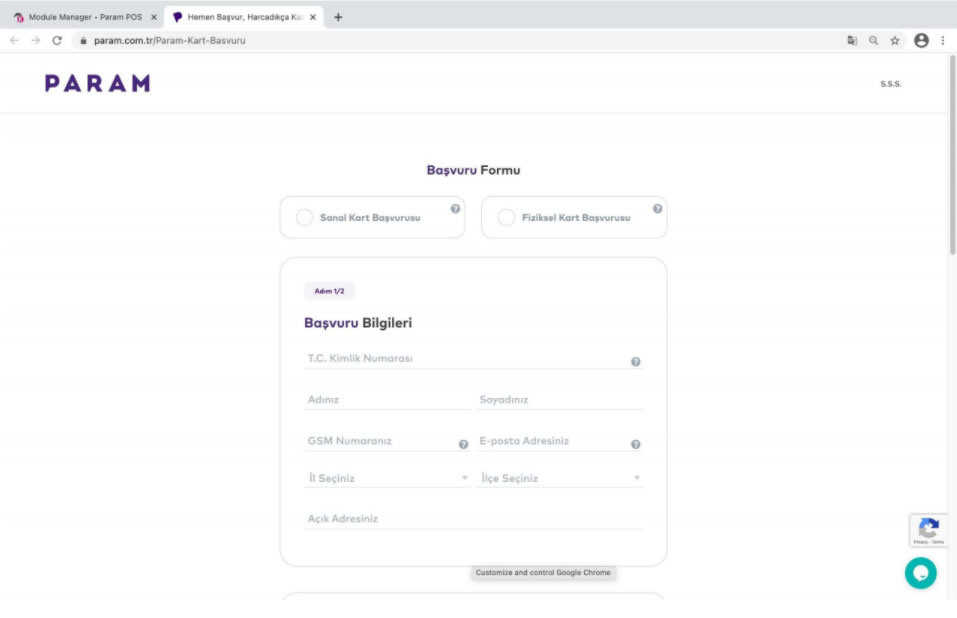
07.We fill in the “Application Form” on the page that opens.
08.To get Param API information, we log in by clicking “Internet Branch” on the param.com.tr website.
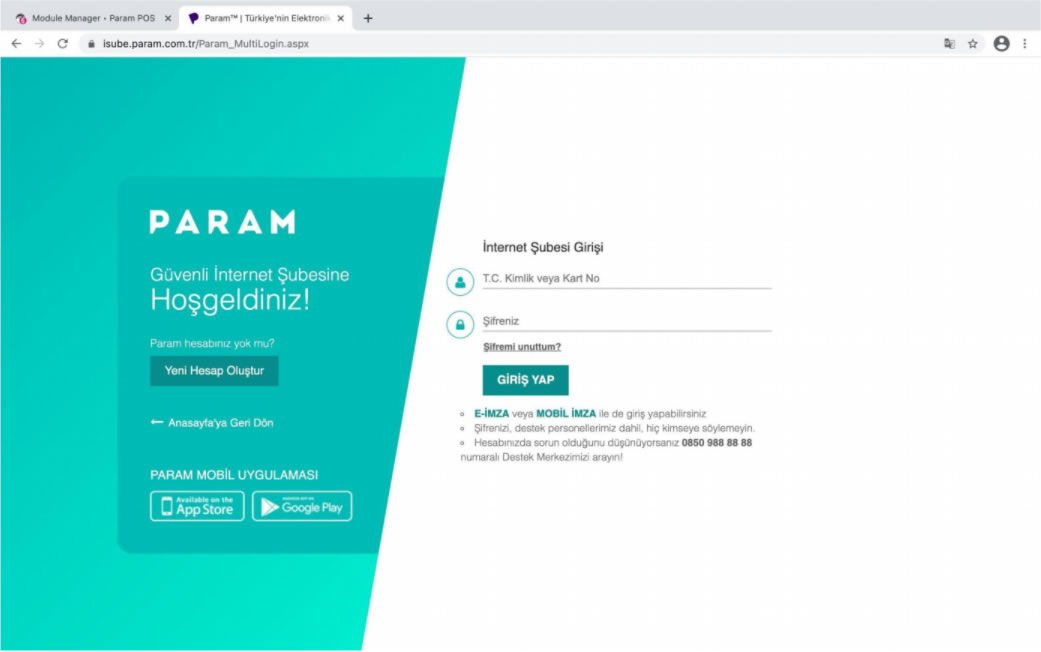
09.Param We log in to the system to get API information.
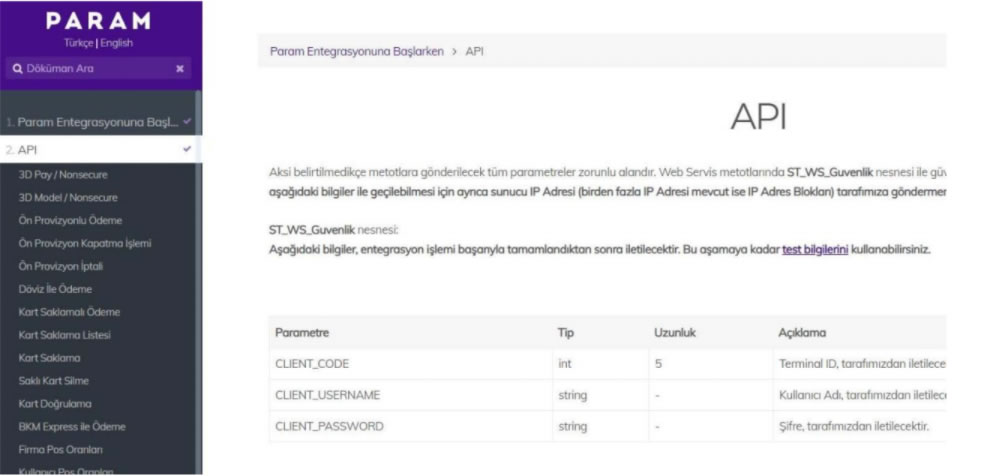
10.API Information should be as follows.https://dev.param.com.tr/en
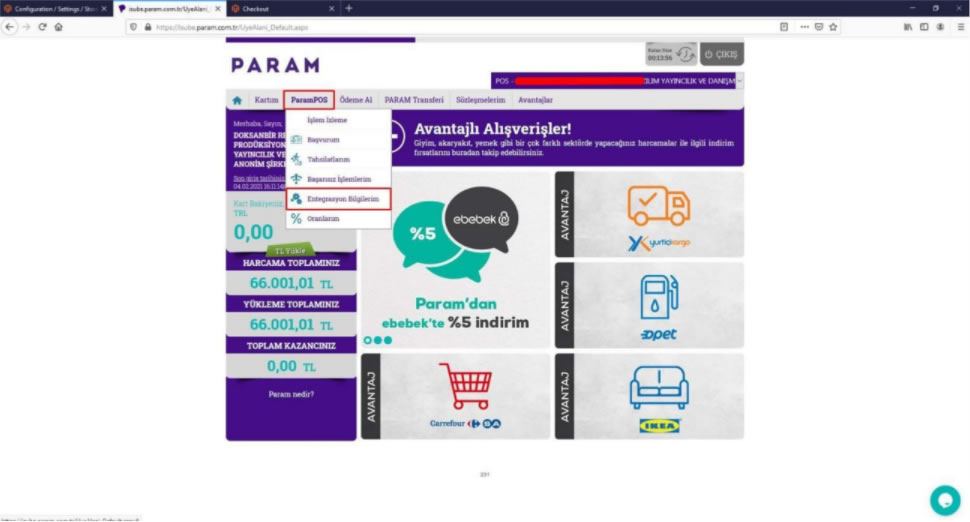
11. Click on “My Integration Information” under the “Param POS” menu. https://isube.param.com.tr/Param_MultiLogin.aspx
12. We enter the information on the “My Integration Information” page accessed under the “Param Pos” tab into the Presta Shop panel.
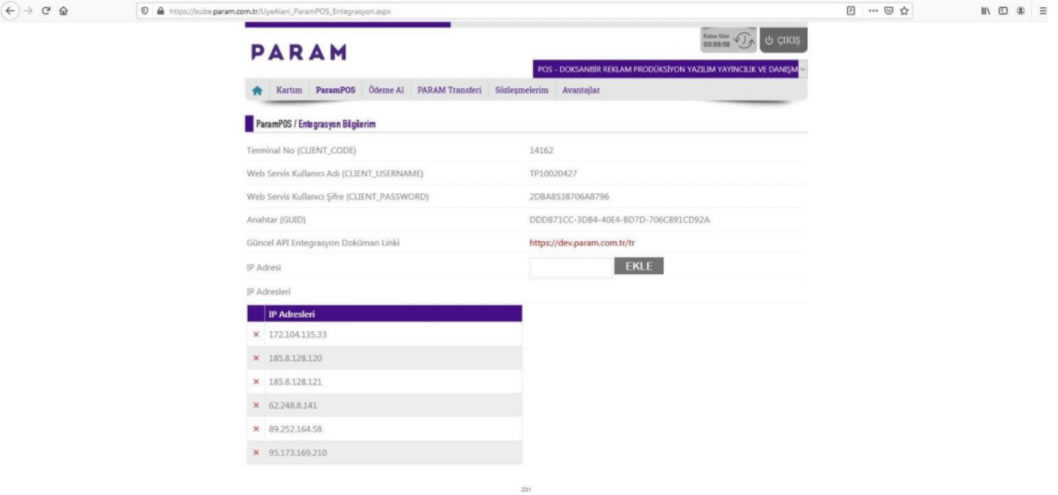
13. The information on the “My Integration Information” page can be found in PrestaShop under the Param POS application “Param Settings” section. Click "Yes" to “Enable Installment” for the installment option. All information and then click on the "Save" button.
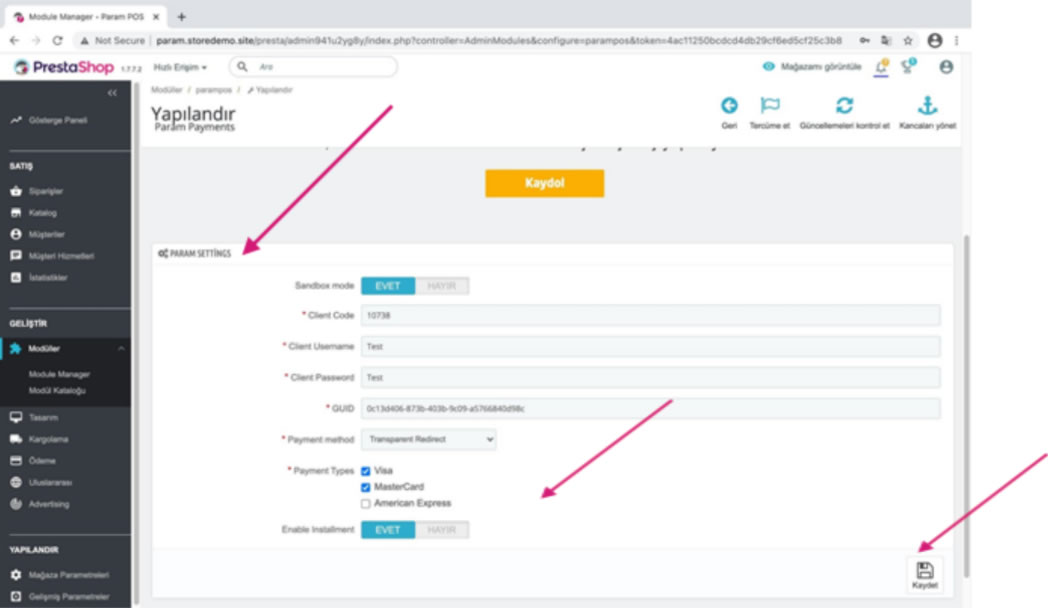
13. In this section, we enter the Title and Description information that will appear on the order screen.
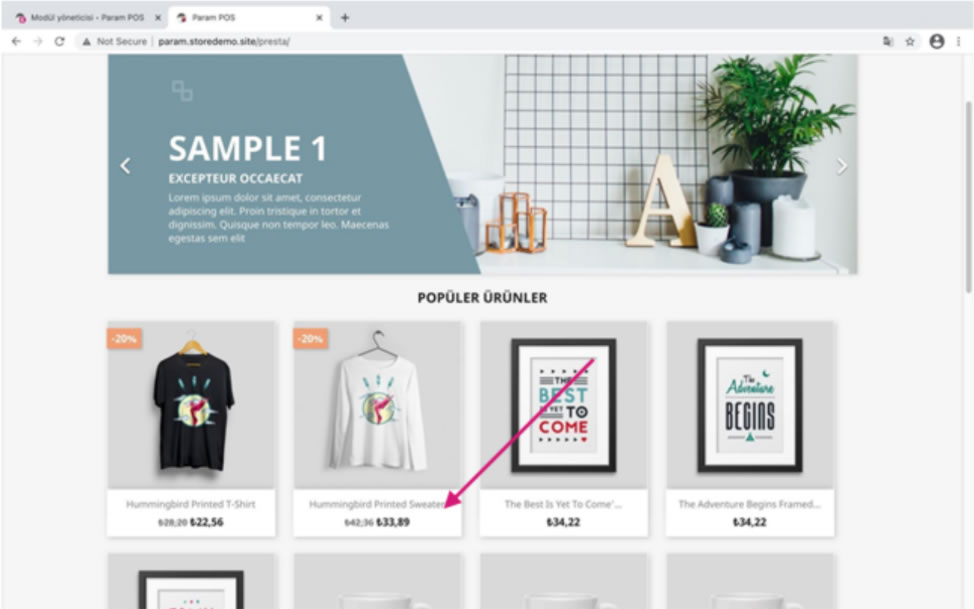
14.After all these processes, we move to the front side. we select the desired product - products.
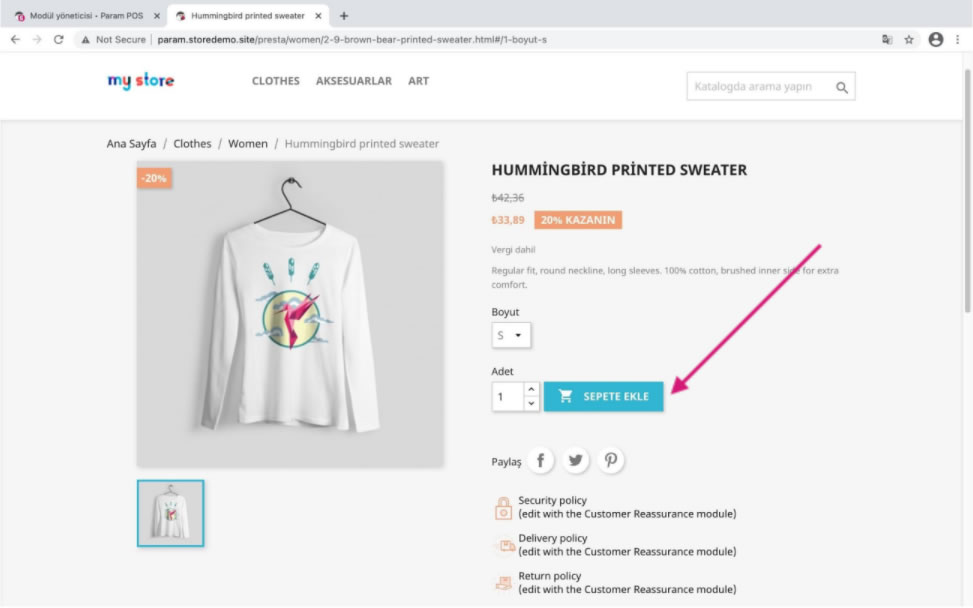
15. Click on the “Add to Cart” button.
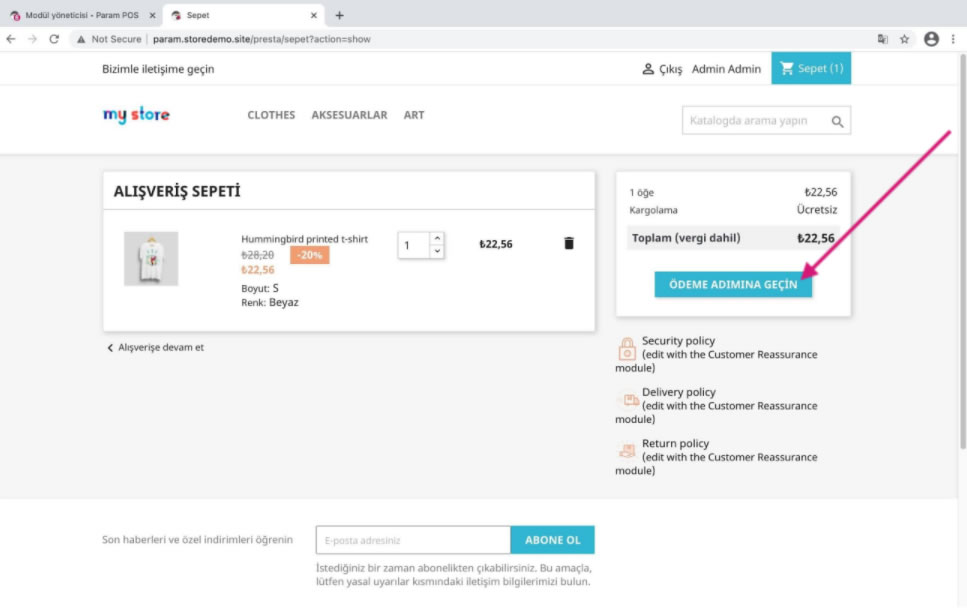
16.After adding the desired products to the cart, we click on the “proceed to checkout” button.
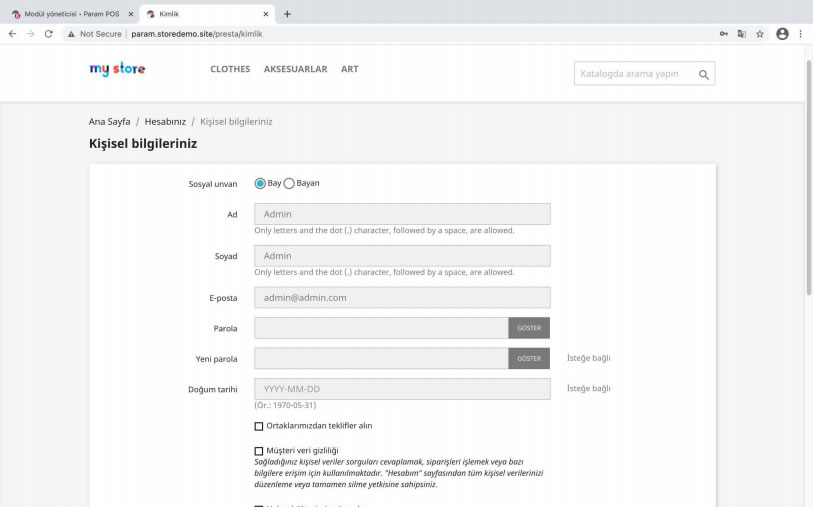
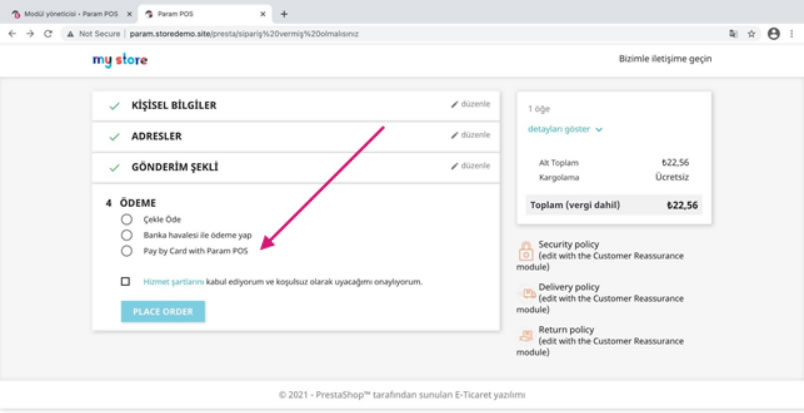
17. Fill in the required information and select the Param payment method.
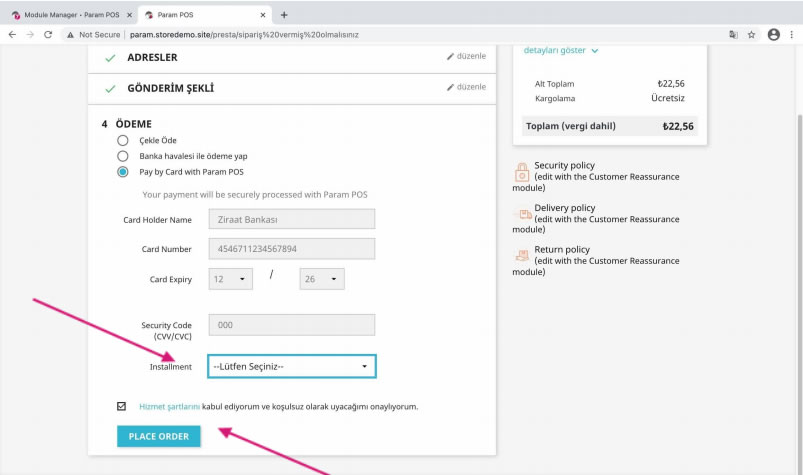
18.We enter the card information. Select installment from the “Installment” section and click on “place order”.
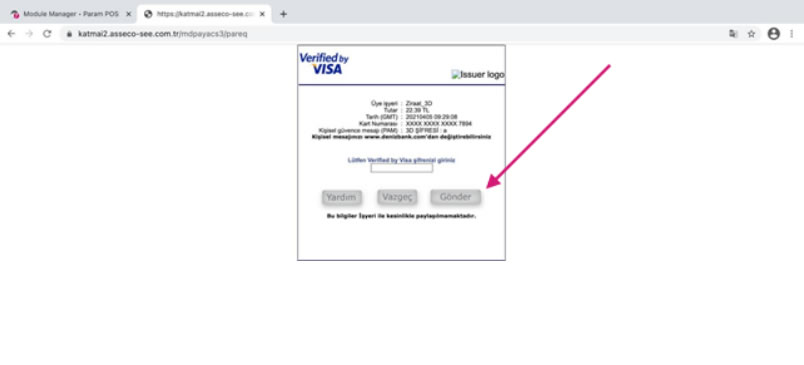
19. When the system redirects us to the 3D verification screen of our bank, we enter the security password here and press the “Send” button.