Woocommerce Plugin Installation
![]()
Click for Param Virtual Pos Plugin
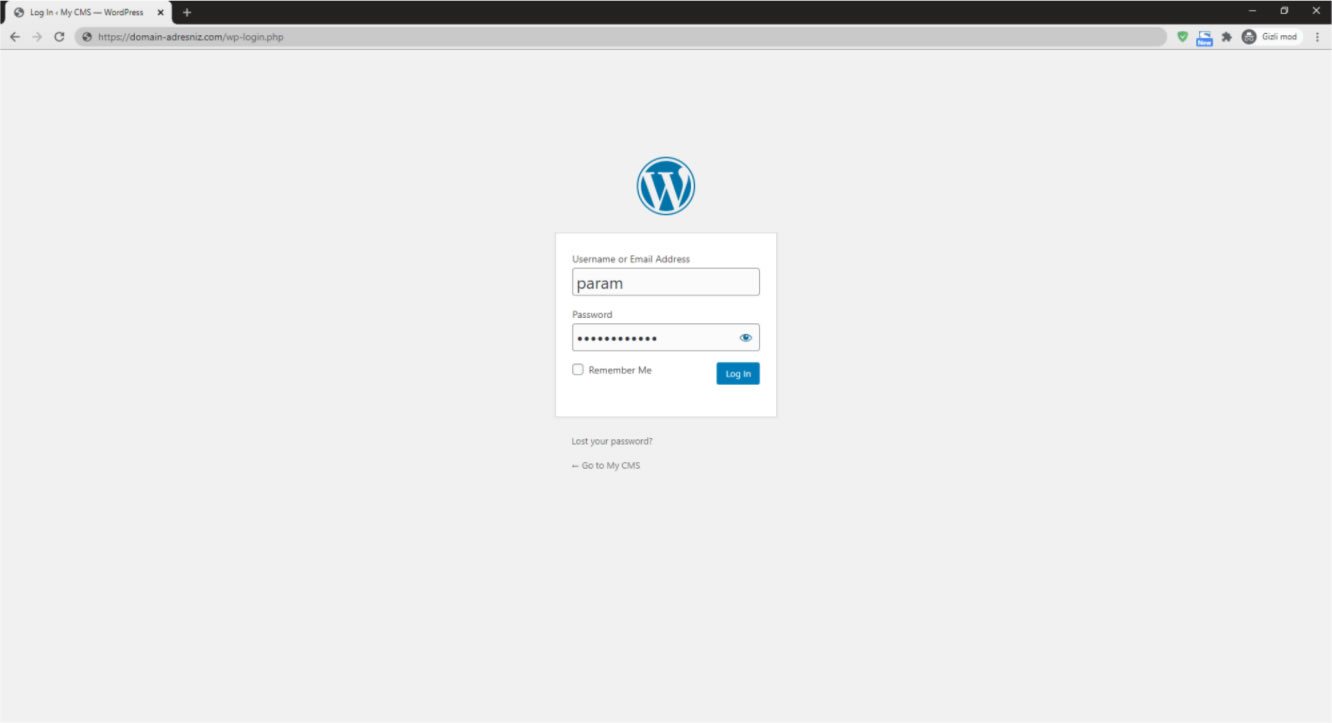
01. We log in to the Woo Commerce admin panel.
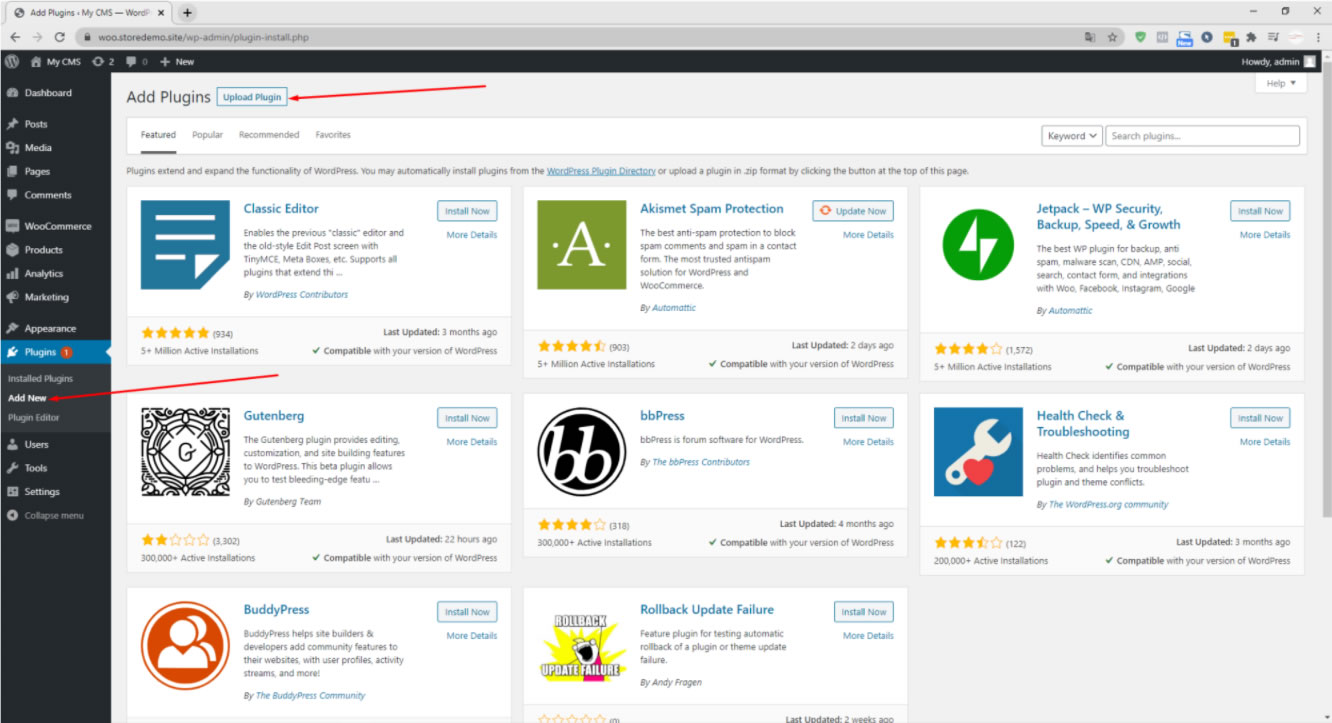
02. Click on Plugins.

03. After entering the Add New Tab, click on Upload Plugin.
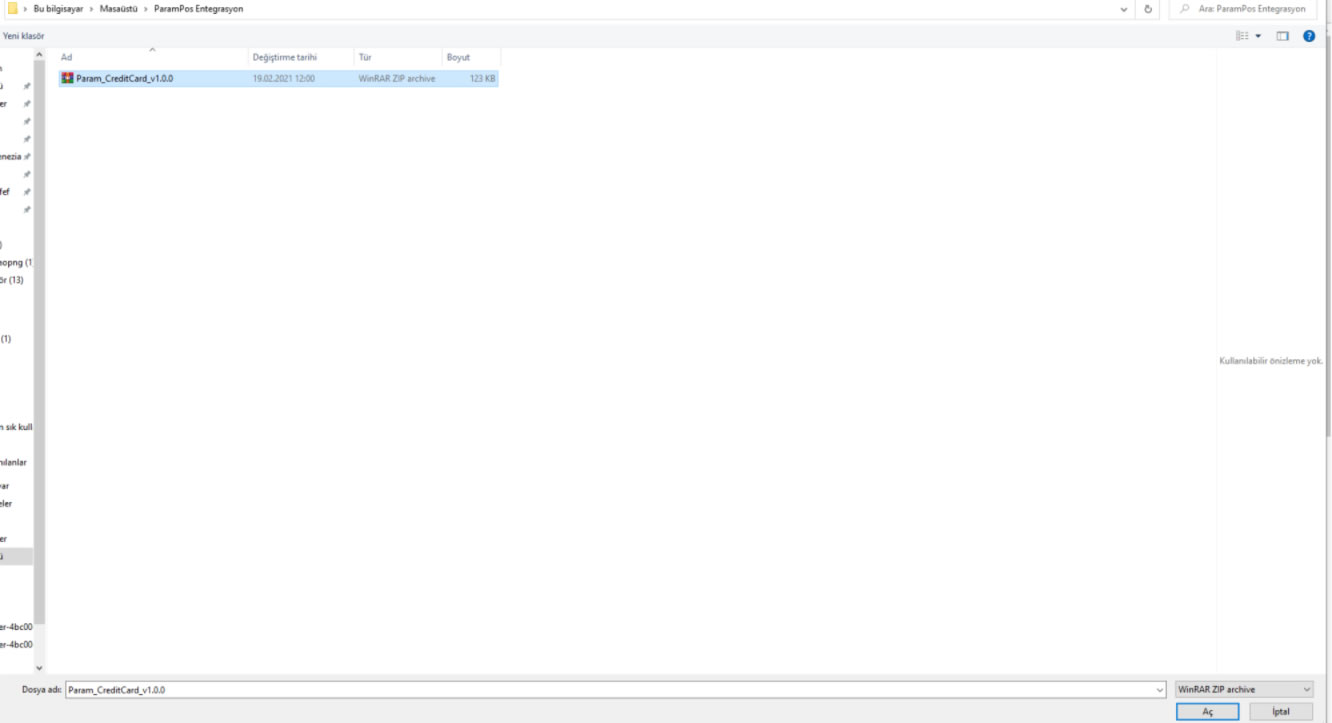
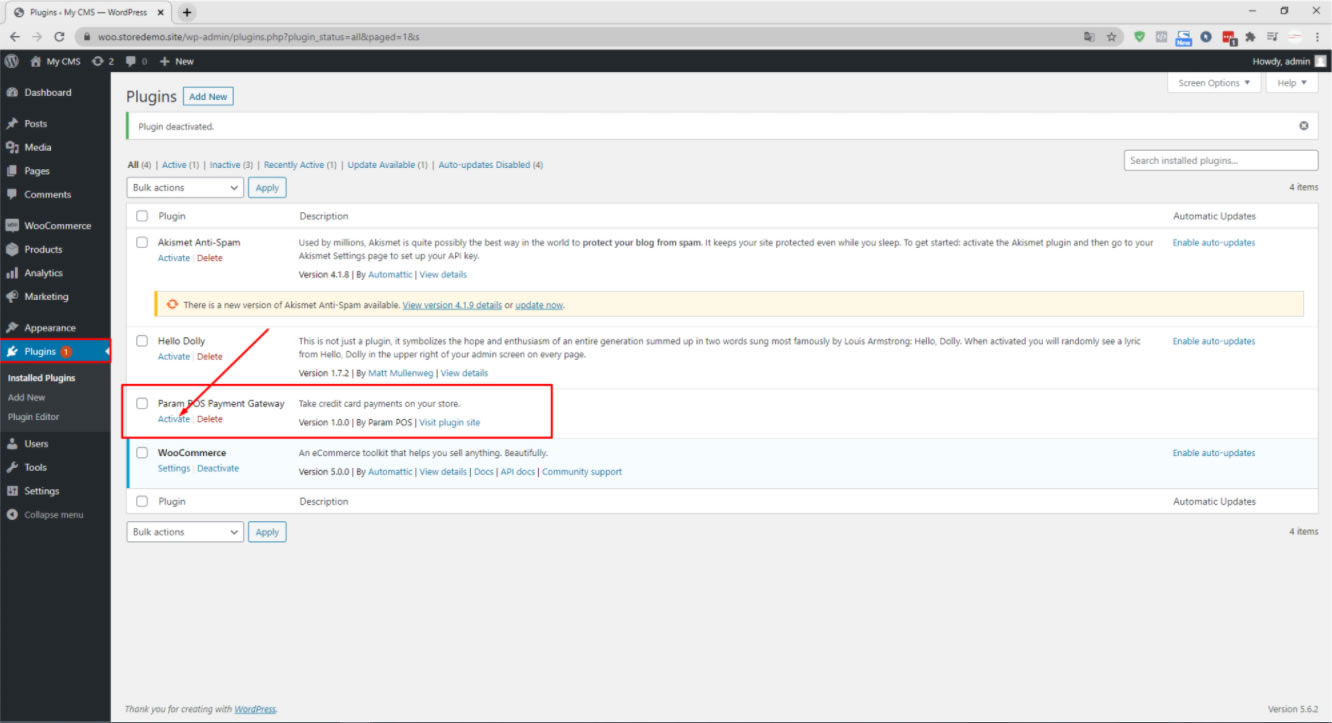
04. Select Param Pos Plugin File.
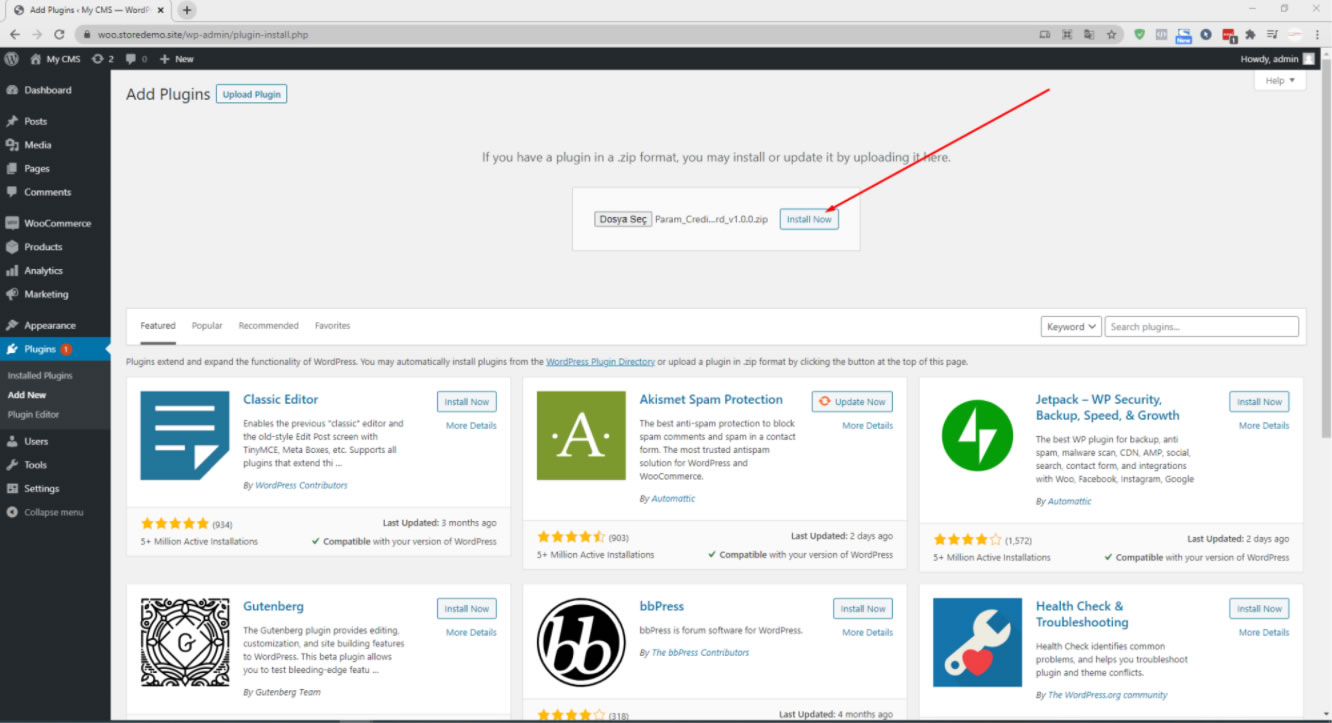
05. Click Install Now.
06. We activate the Param POS option.
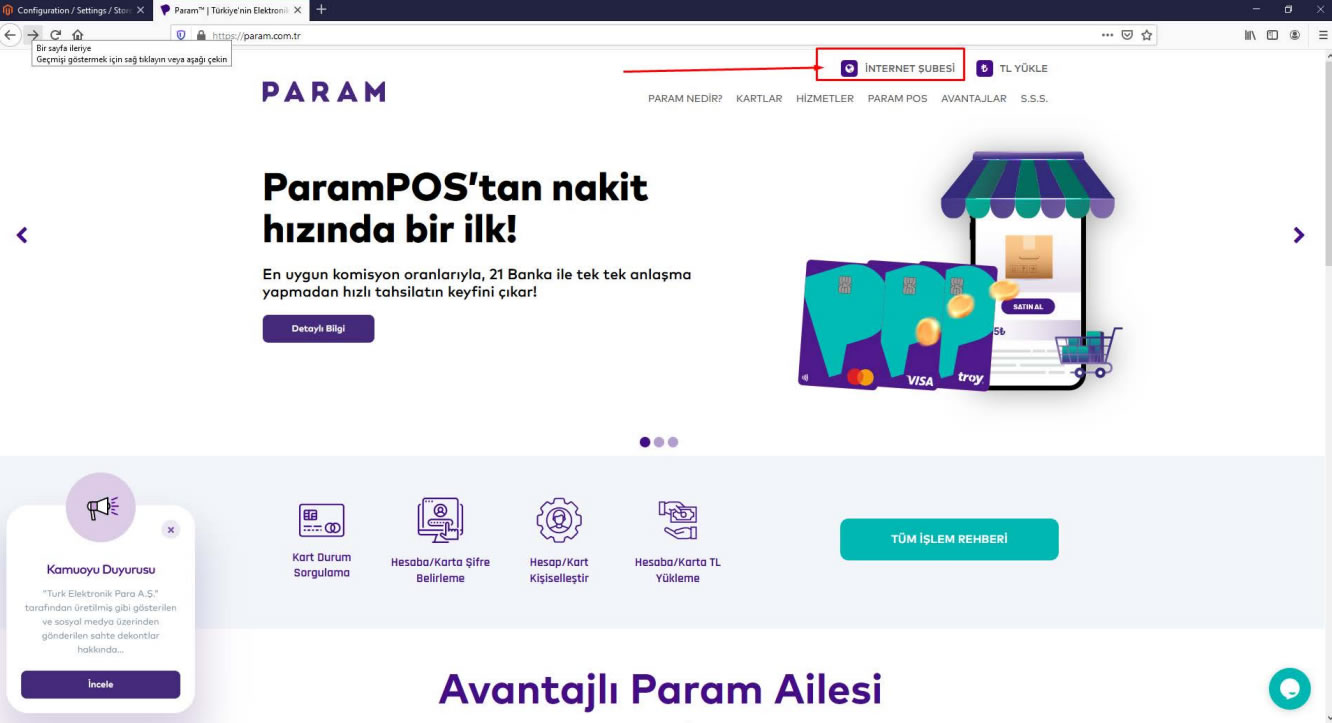
07. Param POS application is made; After the Param POS account is created, API information by logging in from the internet branch can be taken.

07. To get Param API information, we log in by clicking on the "Internet Branch" link on our website.
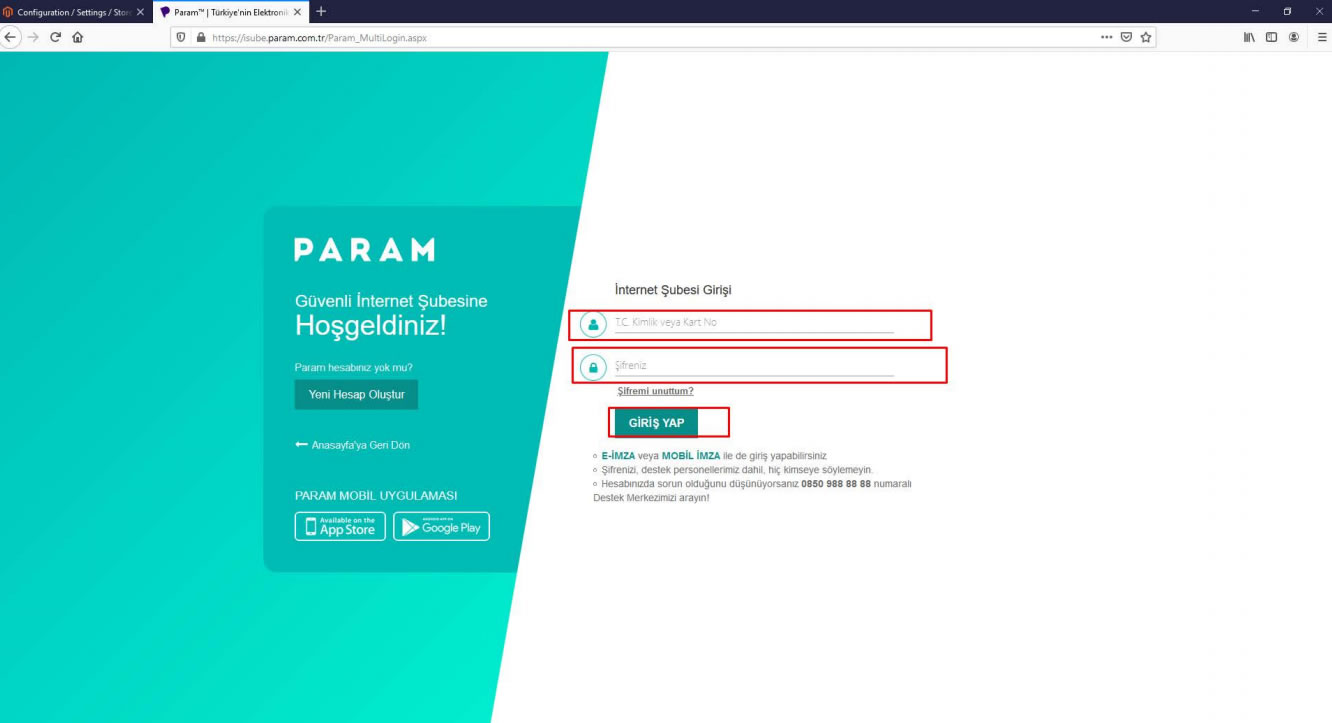
08. We log in to our account to get Param API information.
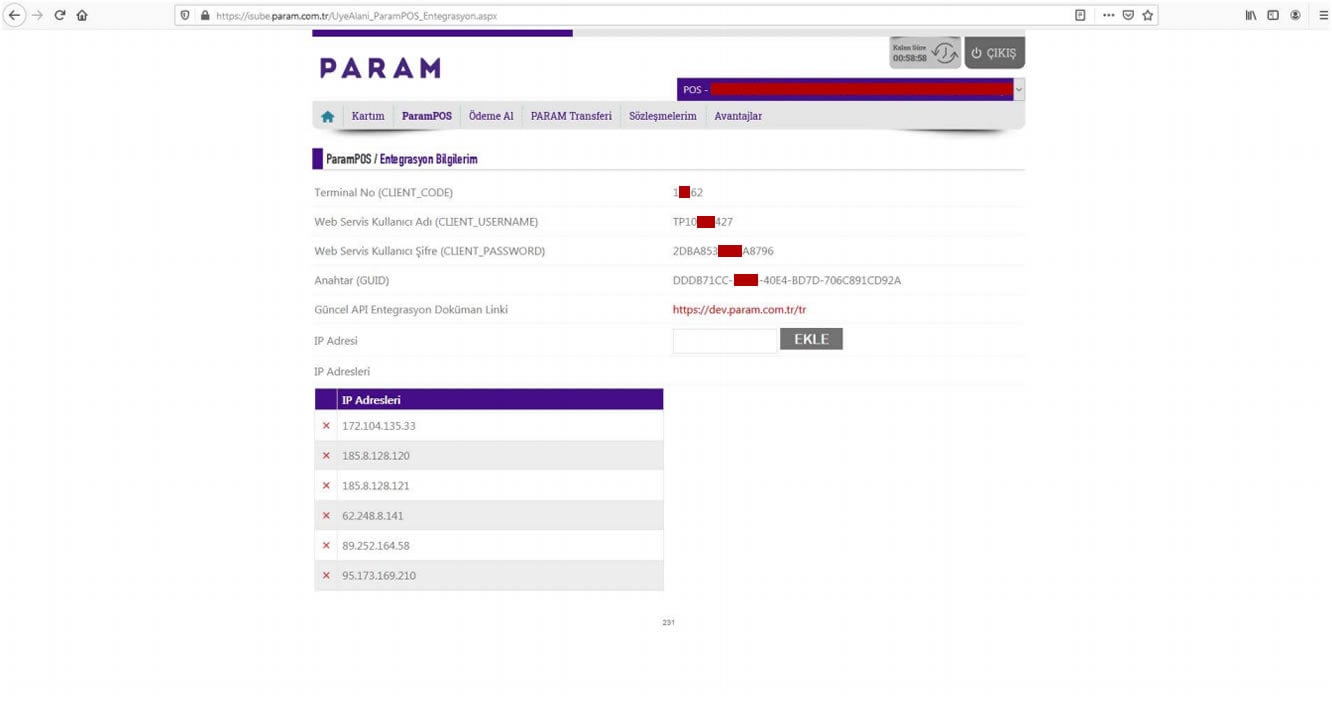
09. Under the ParamPos tab, click on the "My Integration Information" tab.
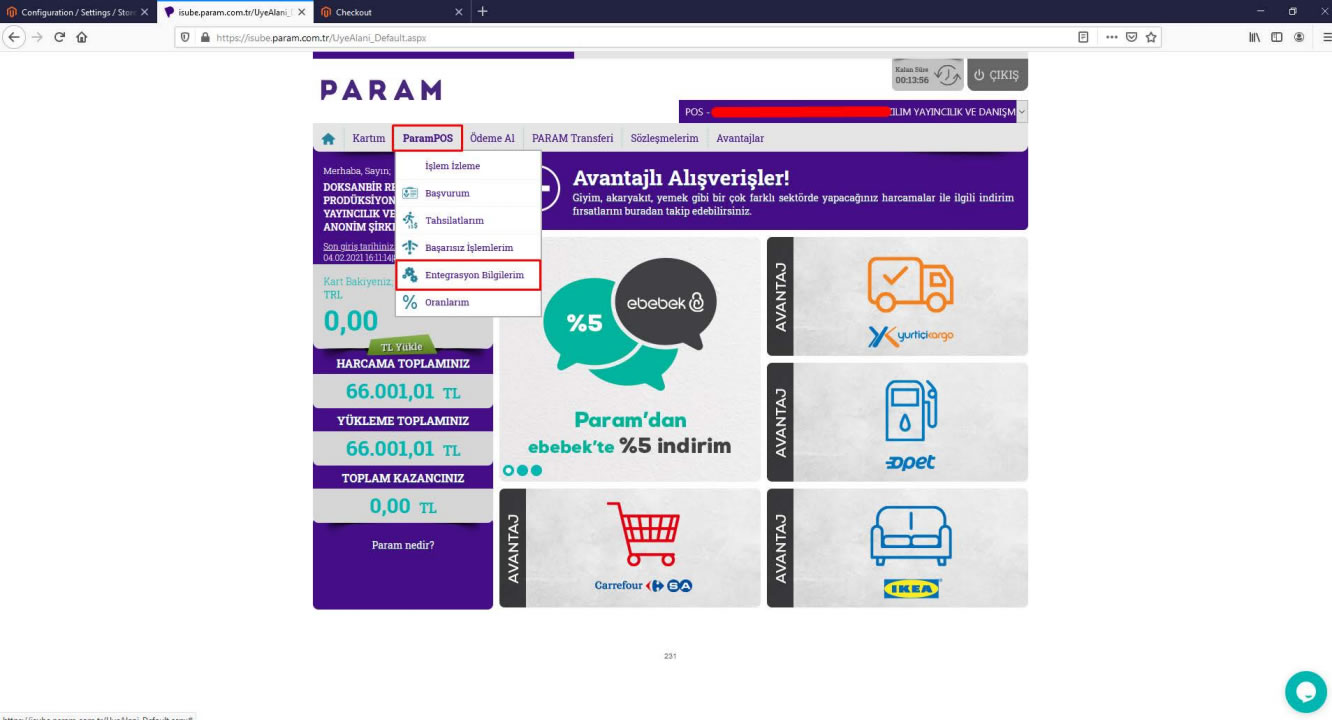
10. Save the information on the "My Integration Information" page.
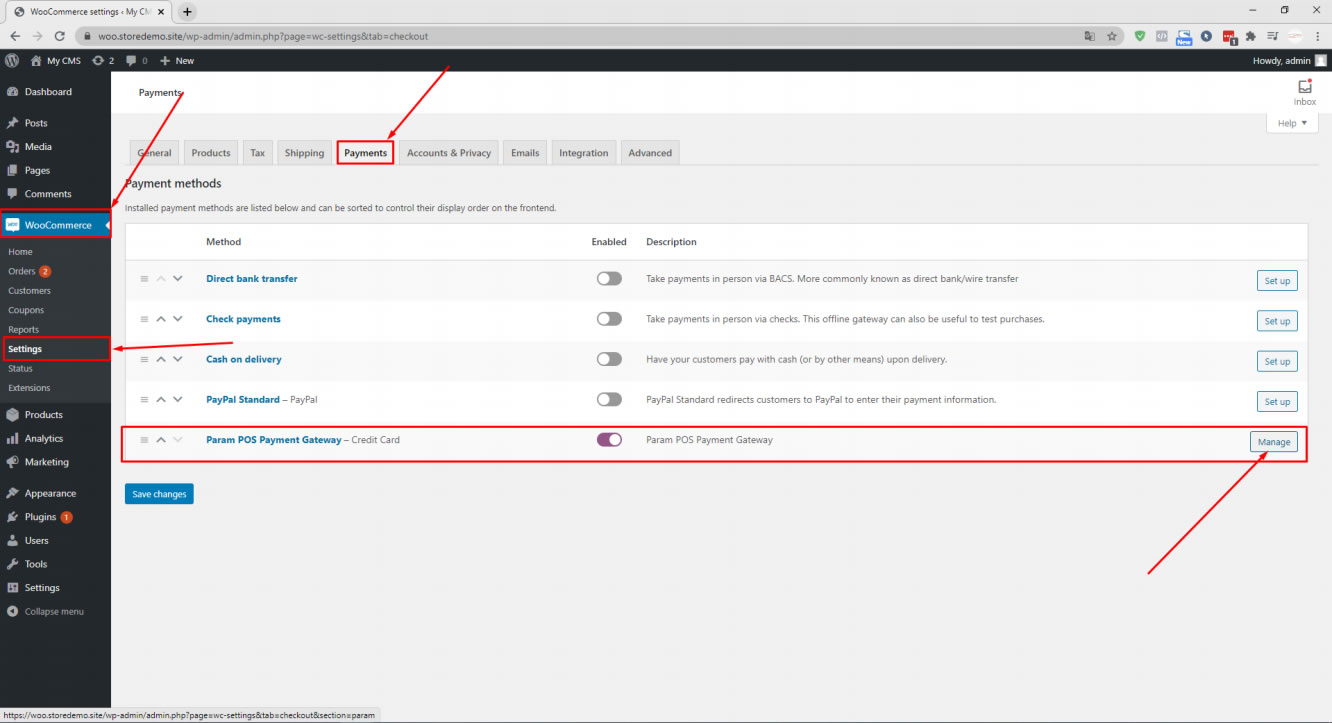
11. After entering this information in the My Integration Information tab under the ParamPos tab to the WooCommerce admin panel, enter "Settings" under the "WooCommerce" tab, click "Payments" there and click "Manage" in the "Param POS Payment Gateway" tab.
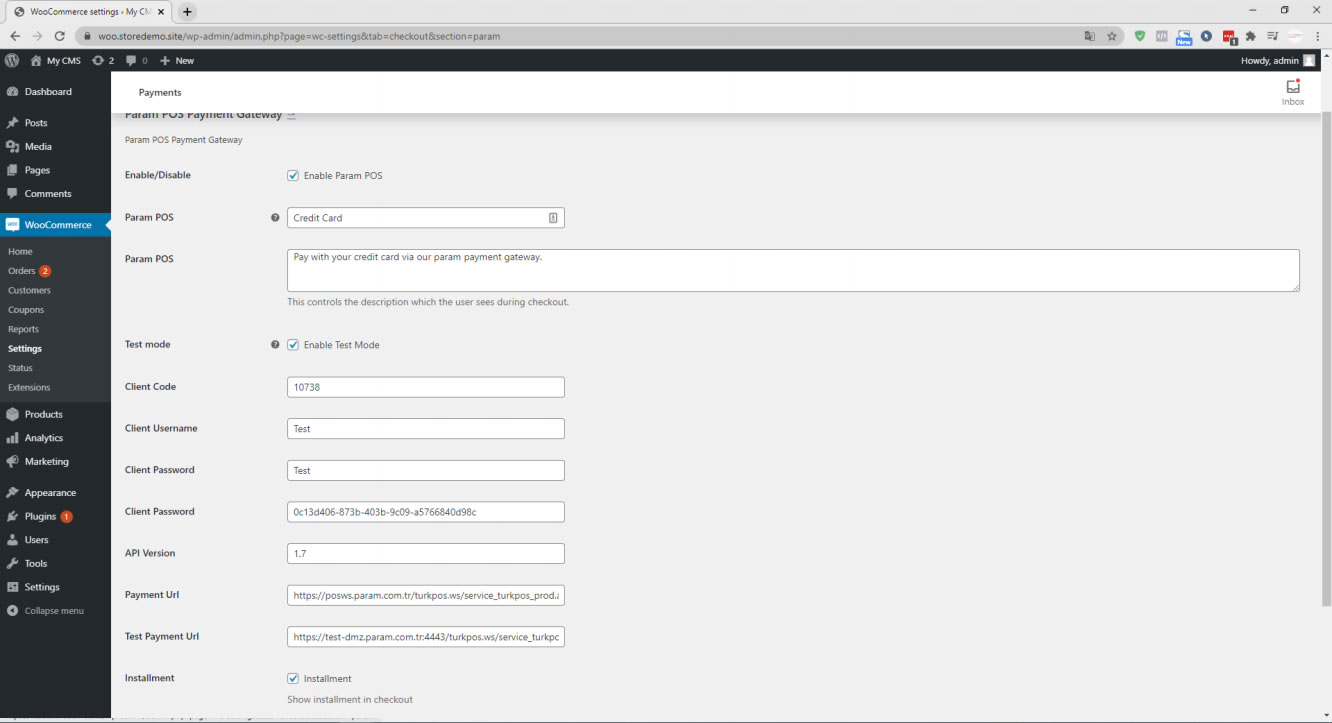
12. We enter this information in the Integration Information Tab under the Param Pos Tab in this section.
13. In this section, we enter the Title and Description information that will appear on the order screen.
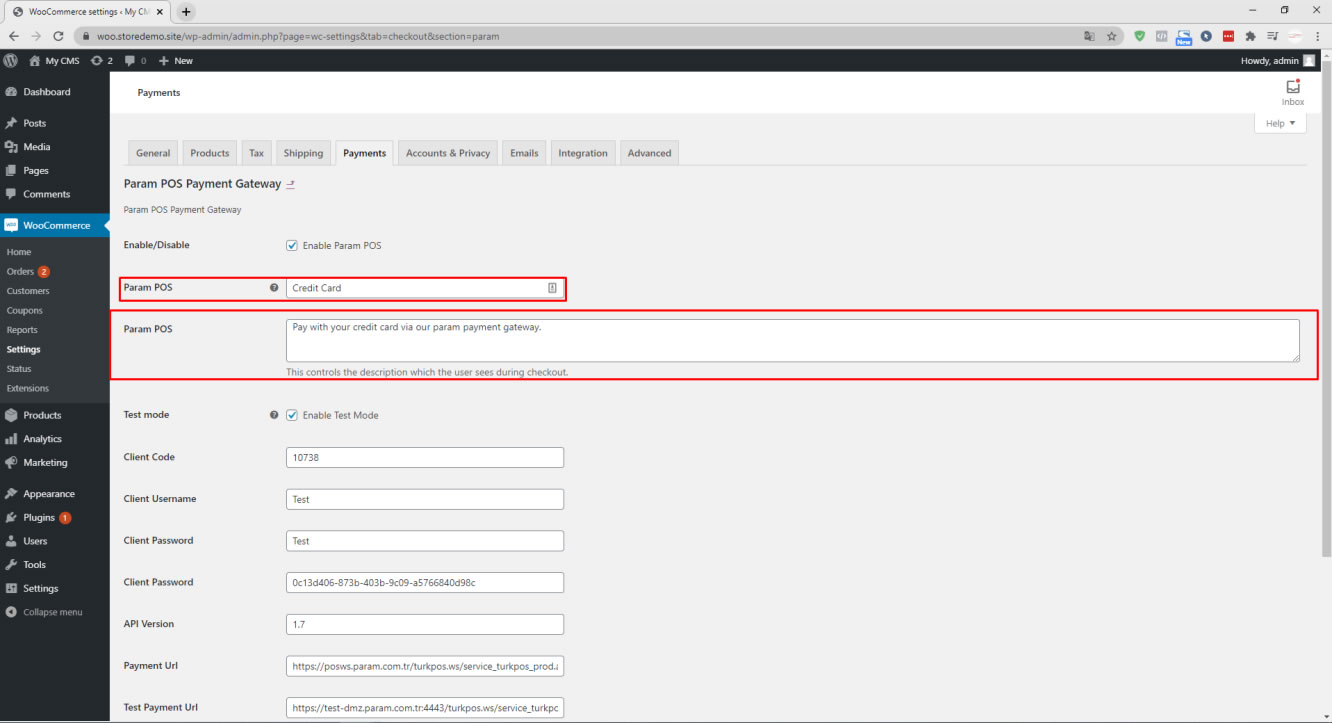
14. After setting the installment option, click on Save changes.
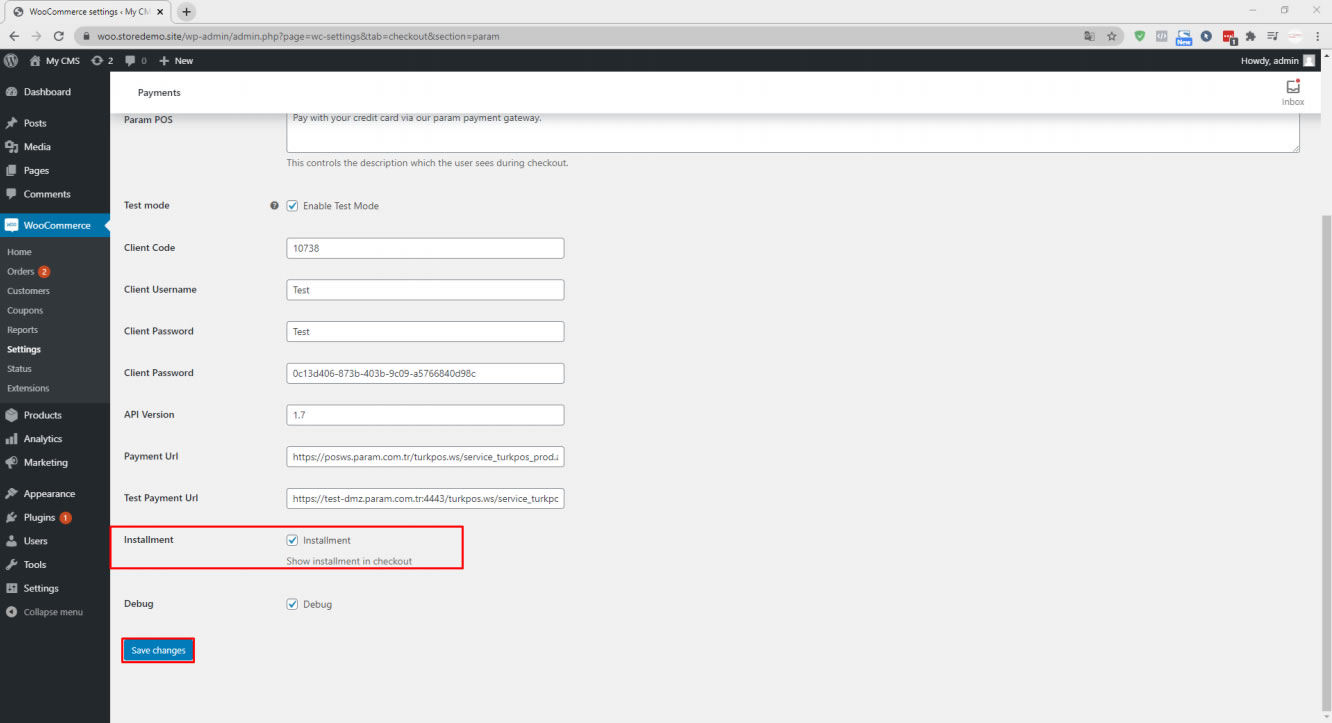
After all these operations are done, the image that appears will be as follows.
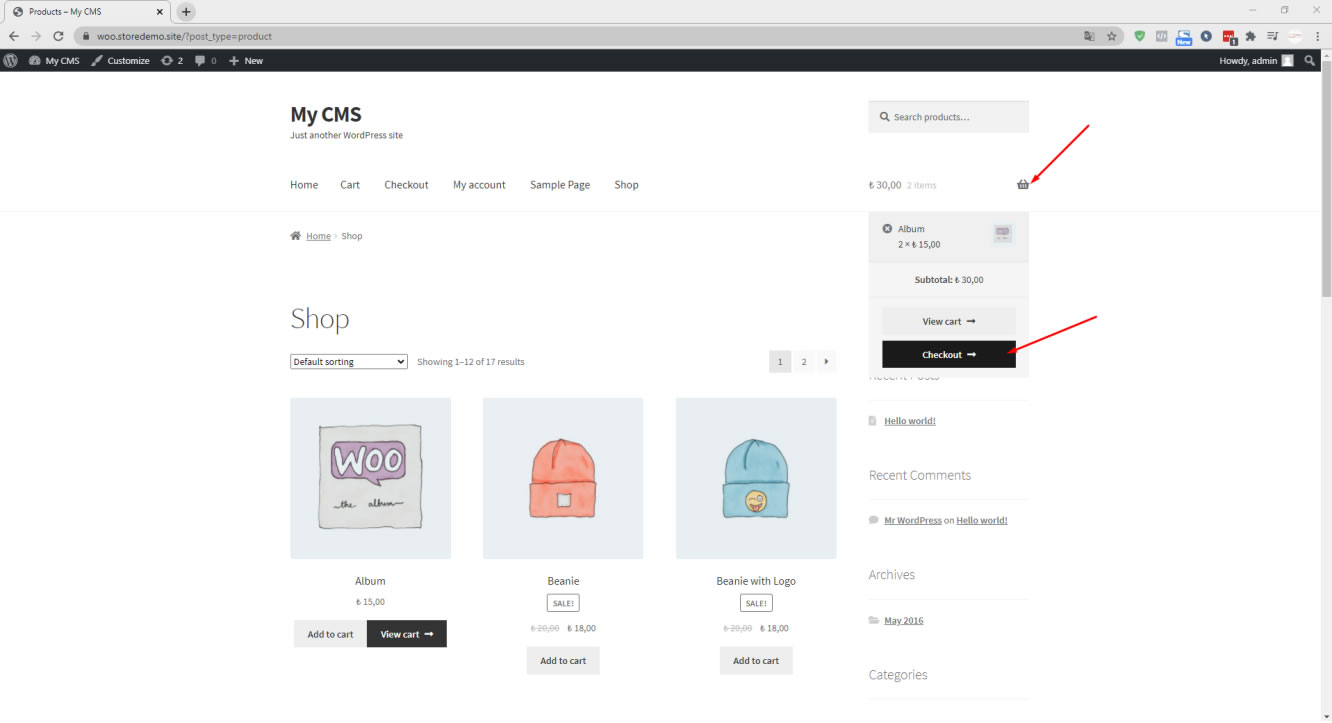
15. Enter the product listing page and click Add to Cart.

16. Click on the cart icon and go to Checkout.
17. Fill in the required information and select the Param payment method.
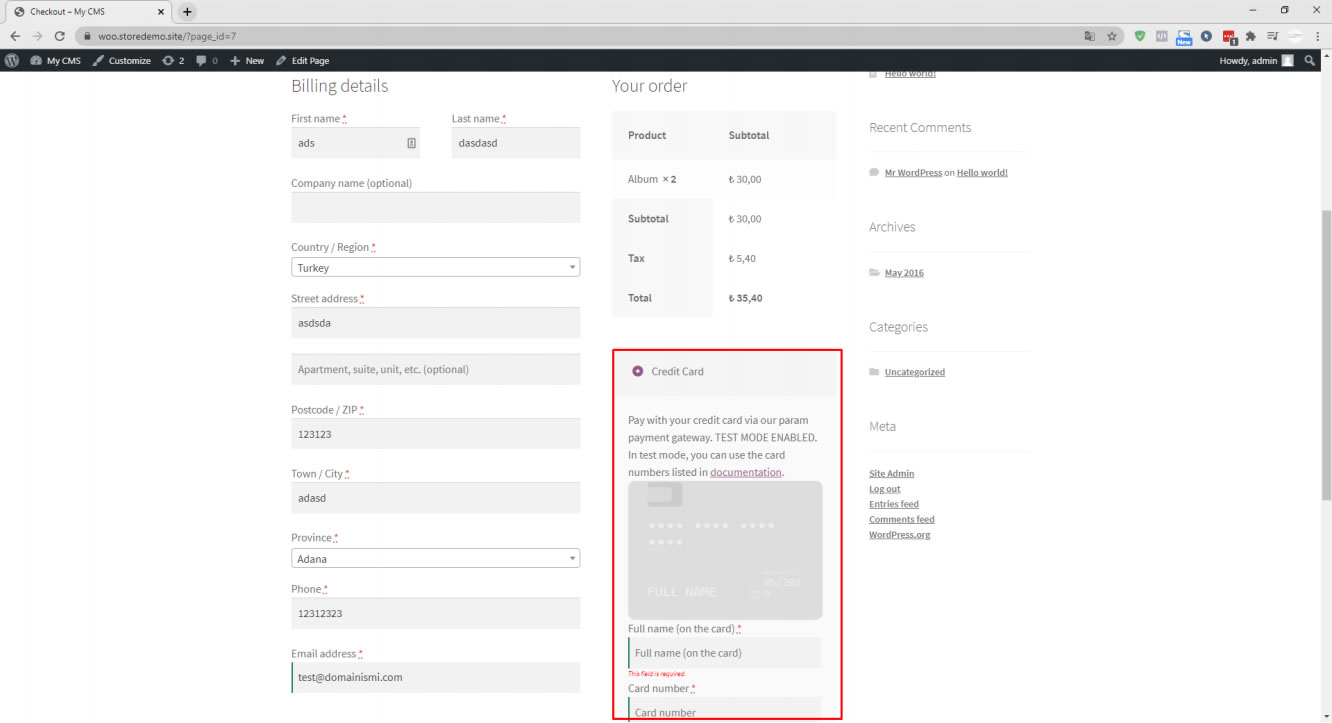
18. We enter my card details.
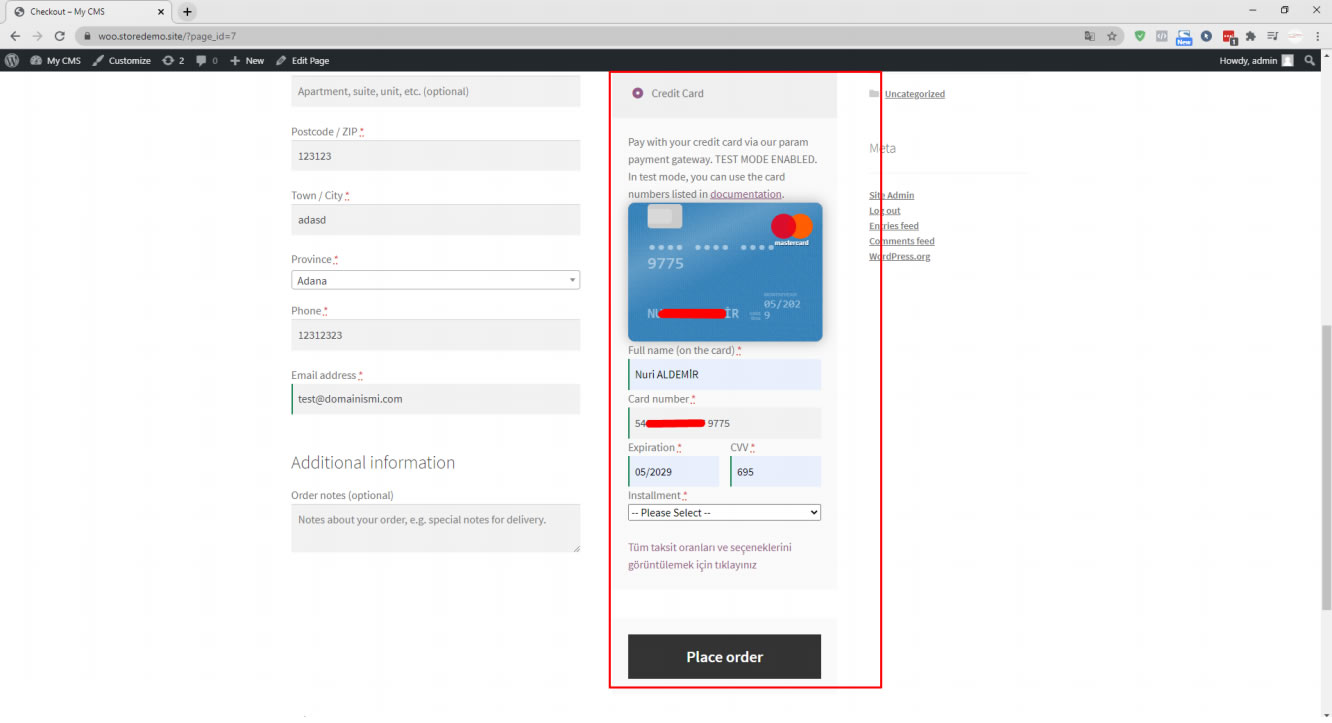
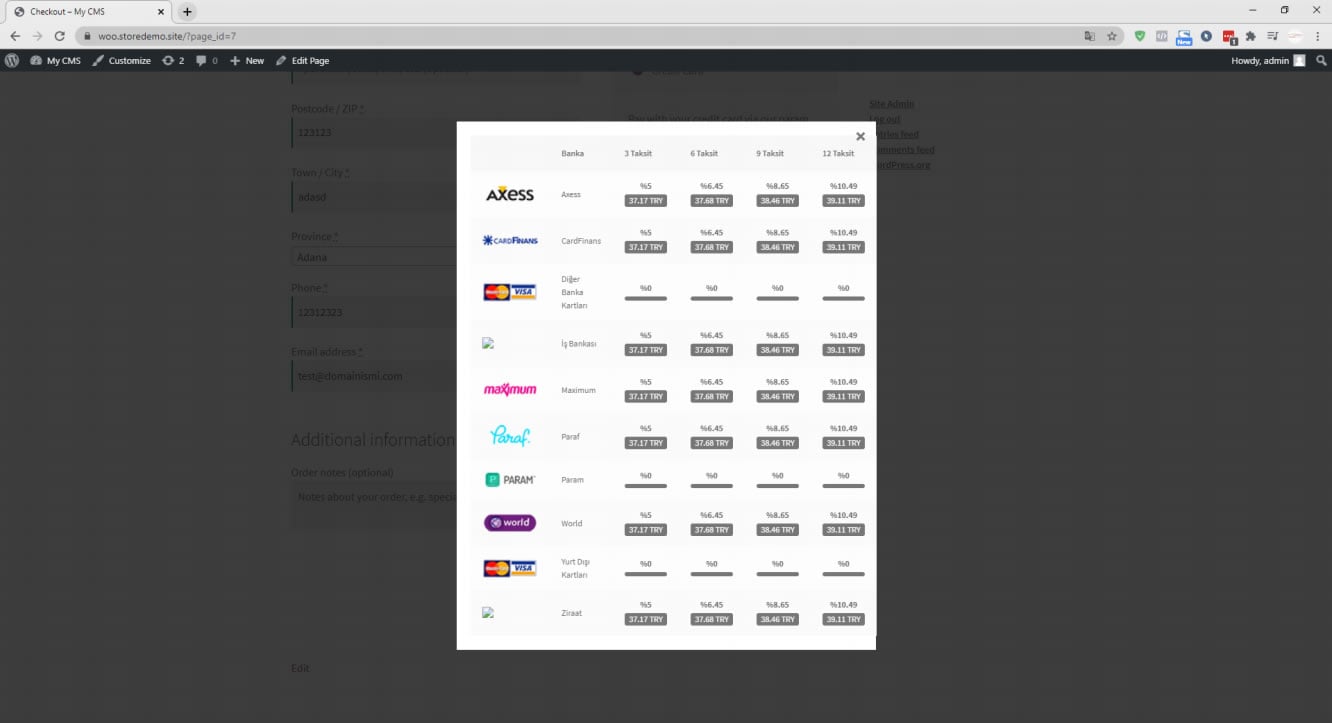
19. Installment information comes in this way. We click Place Order.
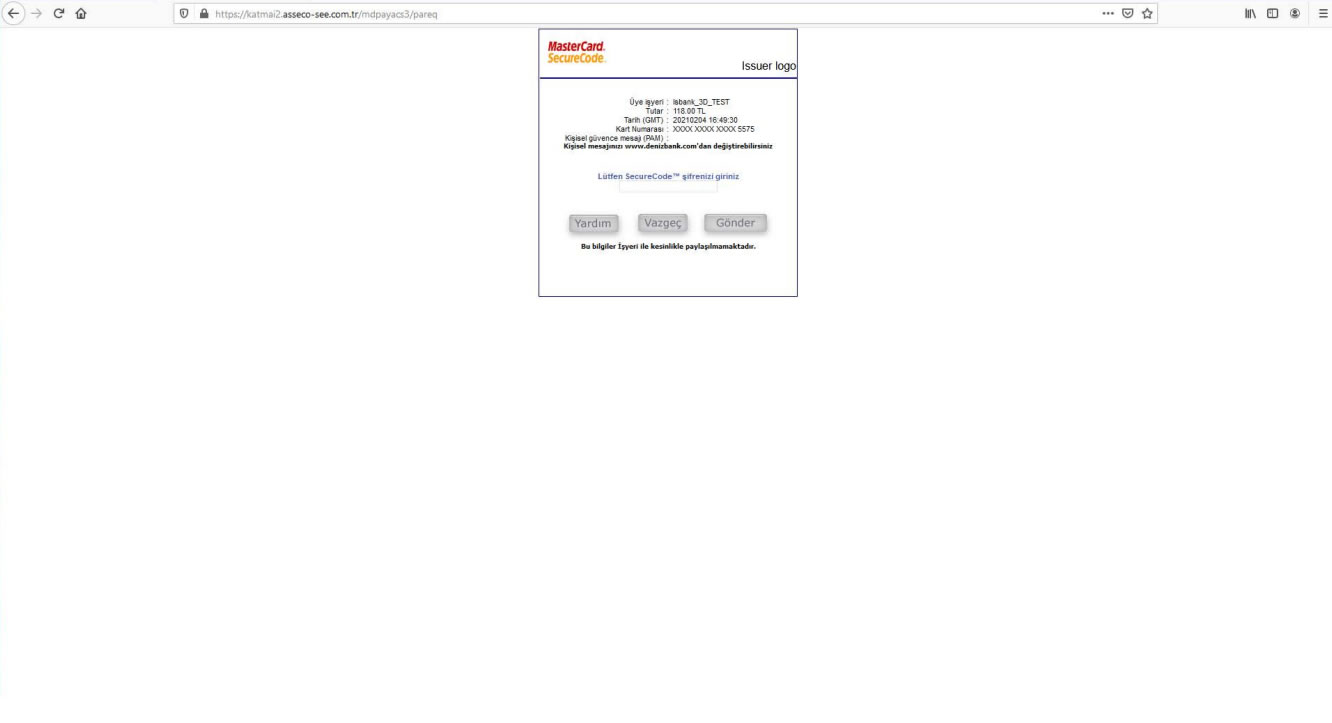
20. At the end of the payment process, the 3D Secure screen will be displayed where you will enter the SMS confirmation code.
21. After payment confirmation, your integration will run smoothly.